
Android Studio for beginners, Part 3: Build and run the app
Build your app with Gradle, then run it with the Android device emulator or Kindle Fire tablet

In Android Studio for beginners, Part 2, you created your first animated mobile app using Android Studio. Now, Part 3 will take you through the steps to build and run the app in an Android device emulator or live device.
We'll first use Gradle to build the app's application package (APK) file. Then I'll show you how to set up and run the app on an Android device emulator or an actual device, in this case, a Kindle Fire tablet. I'll also show you how I resolved a couple of issues with Android Studio's device emulator setup, including the infamous Timed out while waiting error.
Note that this series has been updated for Android Studio 3.2.1, the current stable release as of this writing.
Building your Android app
If you followed along in Part 2, you've already loaded your source code and resource files into your Android Studio project. Now you're ready to build the app for the first time.
If you haven't already, start up Android Studio. The menu bar provides a Build menu, which you'll use to access Gradle and build the example application.
Select Make Project from the Build menu. You should observe a Gradle Build Running message on the status bar. After a little while, you should observe a Gradle Build Finished message. Click on this message and the Event Log window appears.
There's more than one way to build an Android app. For example, you could select Rebuild Project from the Build menu. Another approach is to actually run the app. If necessary, Gradle will automatically rebuild the app before its APK is installed and the app is run.
Running your Android app
In this section, I'll show you how to run an Android application two ways: first on an emulated device, and then on an actual device. For my example, I'll be using an Amazon Kindle Fire HD tablet, but the instructions should generally apply to the device of your choice.
Run your Android app on an emulated device
You can run the example application (W2A) or any other app by selecting Run 'app' in the Run menu. Alternatively, you can click the green triangle button on the toolbar. Either way, Android Studio responds with the Select Deployment Target dialog box.
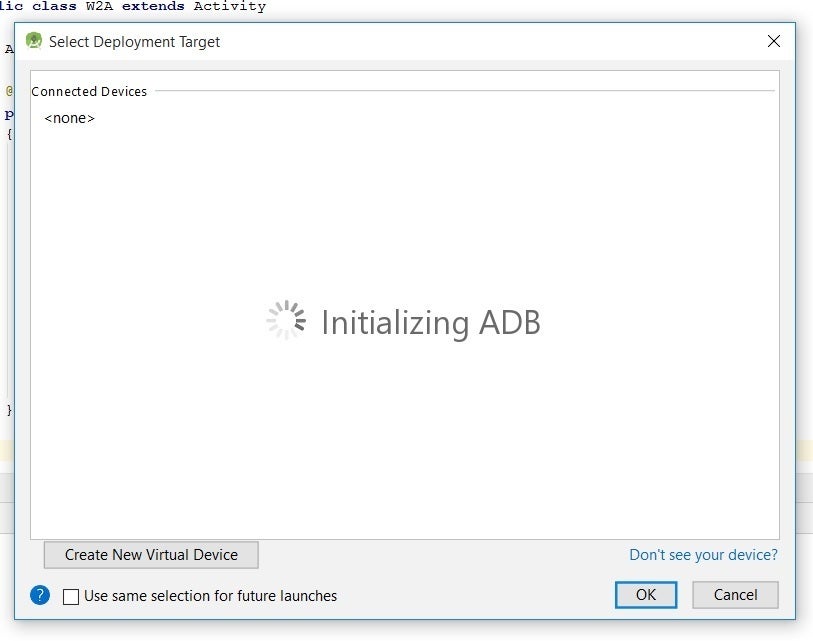
After you've initialized the Android Debug Bridge, the message in Figure 2 will be replaced by a list of all connected USB devices and running emulators that have been detected by Android Studio.
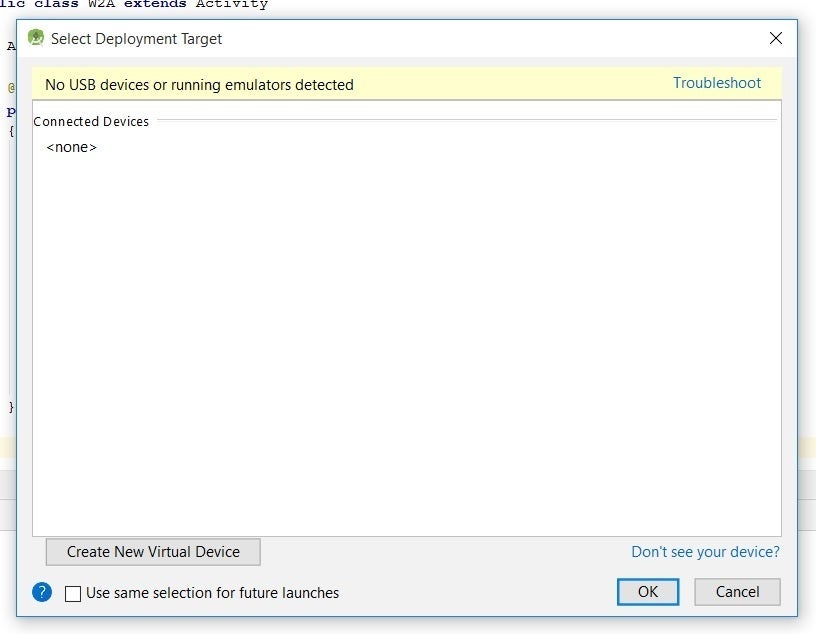
In this case, Android Studio hasn't detected any connected USB devices or emulators, so you'll need to configure a new virtual device. Clicking Create New Virtual Device launches the dialog box shown in Figure 4.
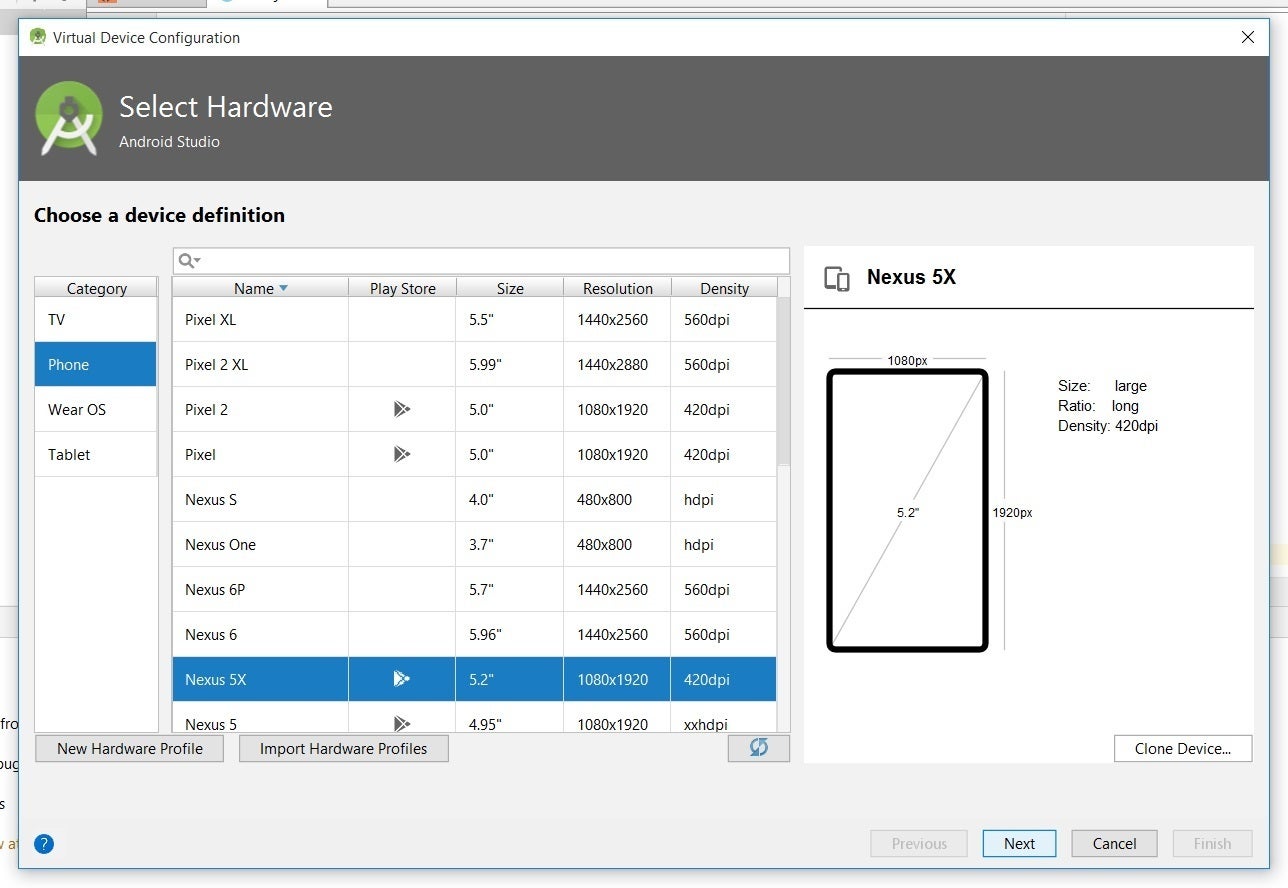
Select whatever device you want to emulate. For this example, I selected the highlighted (default) Nexus 5X. Click Next after you've made your selection.
The resulting System Image panel invites you to select a system image for this device emulation. I clicked the Other Images tab followed by IceCreamSandwich -- the highlighted line in Figure 5.
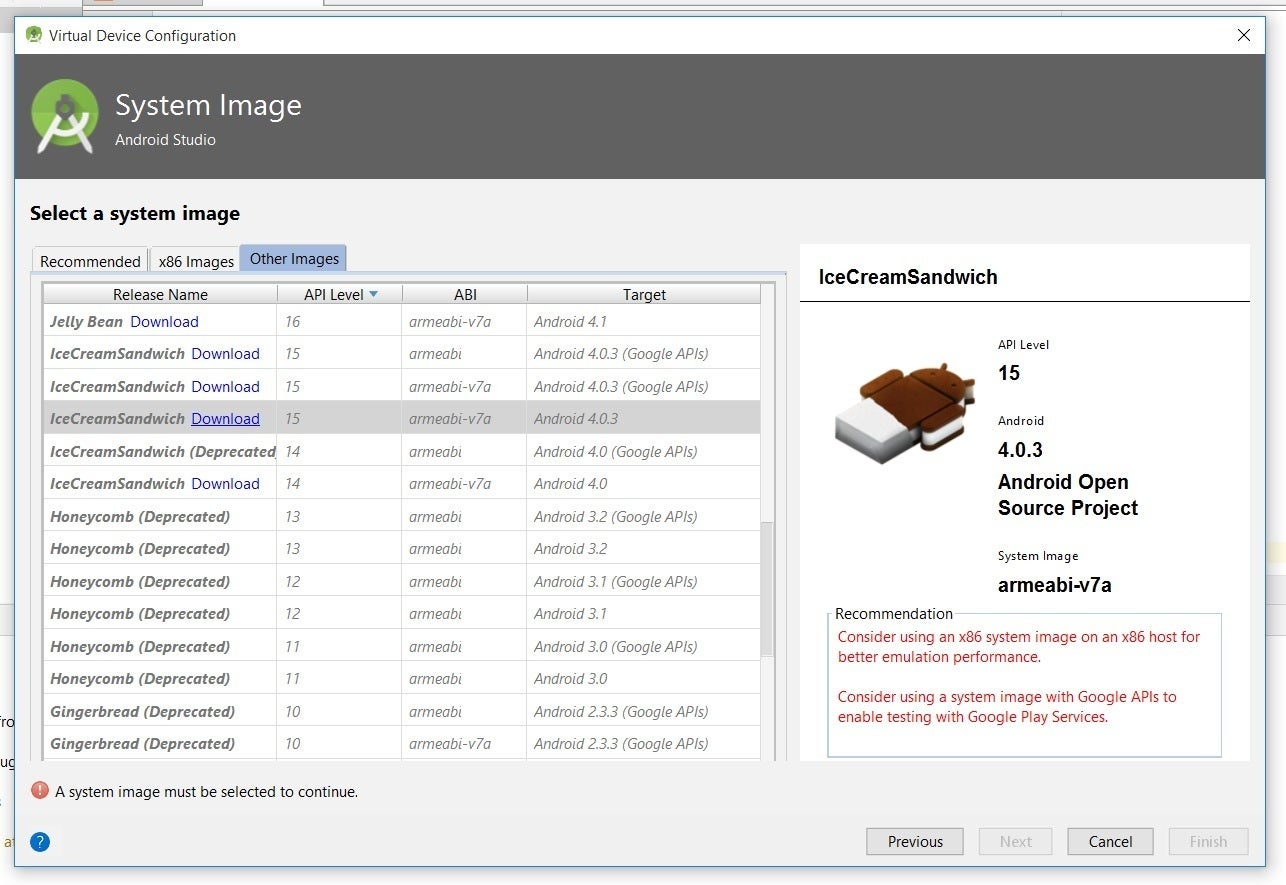
You'll need to click the Download link to download whatever system image you've chosen. The image isn't installed by default. Before you can install the system image, you will also be presented with a license agreement.
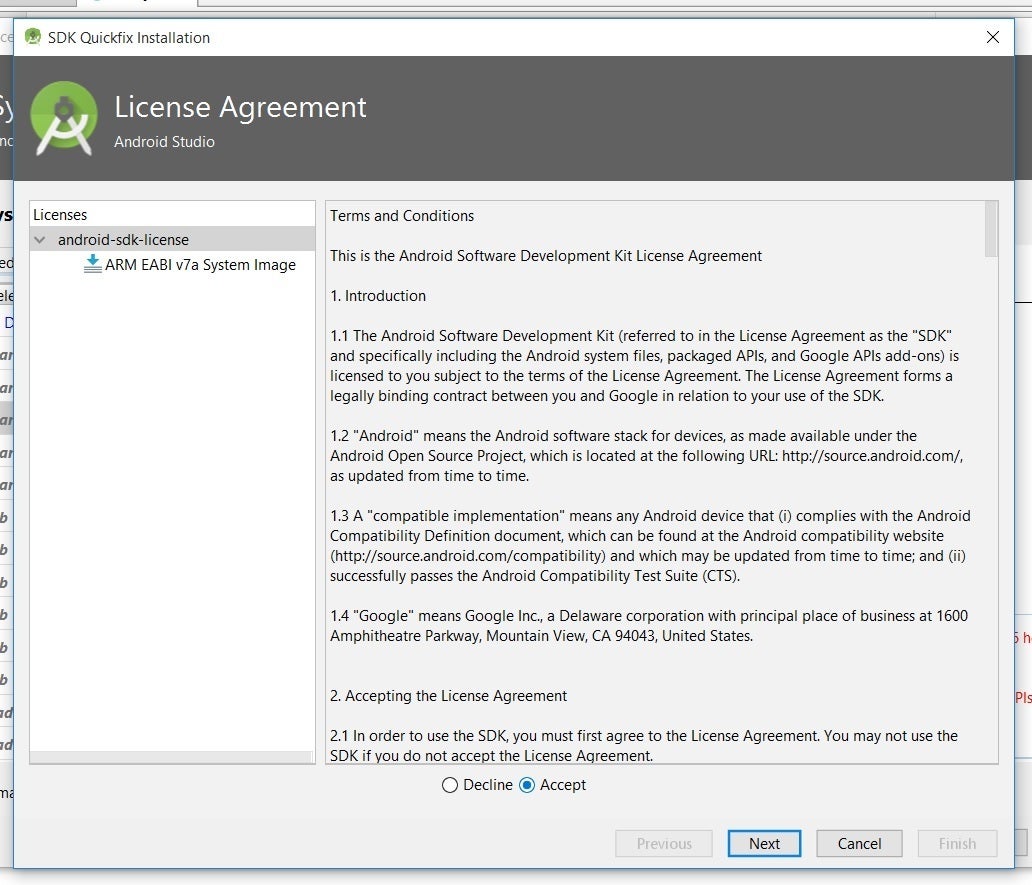
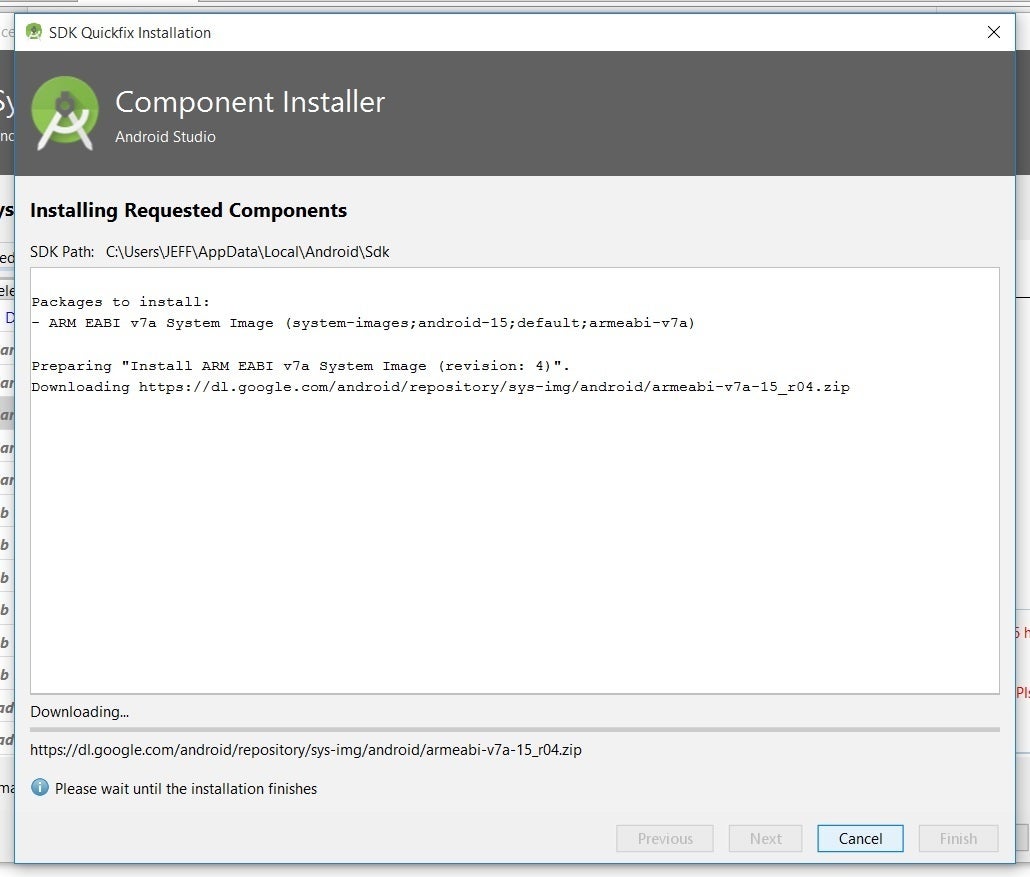
You must accept the license agreement to continue. After accepting the license agreement, you will be presented with the Component Installer panel. At this point, the system image components are being downloaded and installed.
Before continuing, it's a good idea to check your work. Use the Back button to navigate out of the installation dialogs and back to the Android Virtual Device (AVD) panel. Here you can verify your settings for the emulator AVD that will run your emulated device.
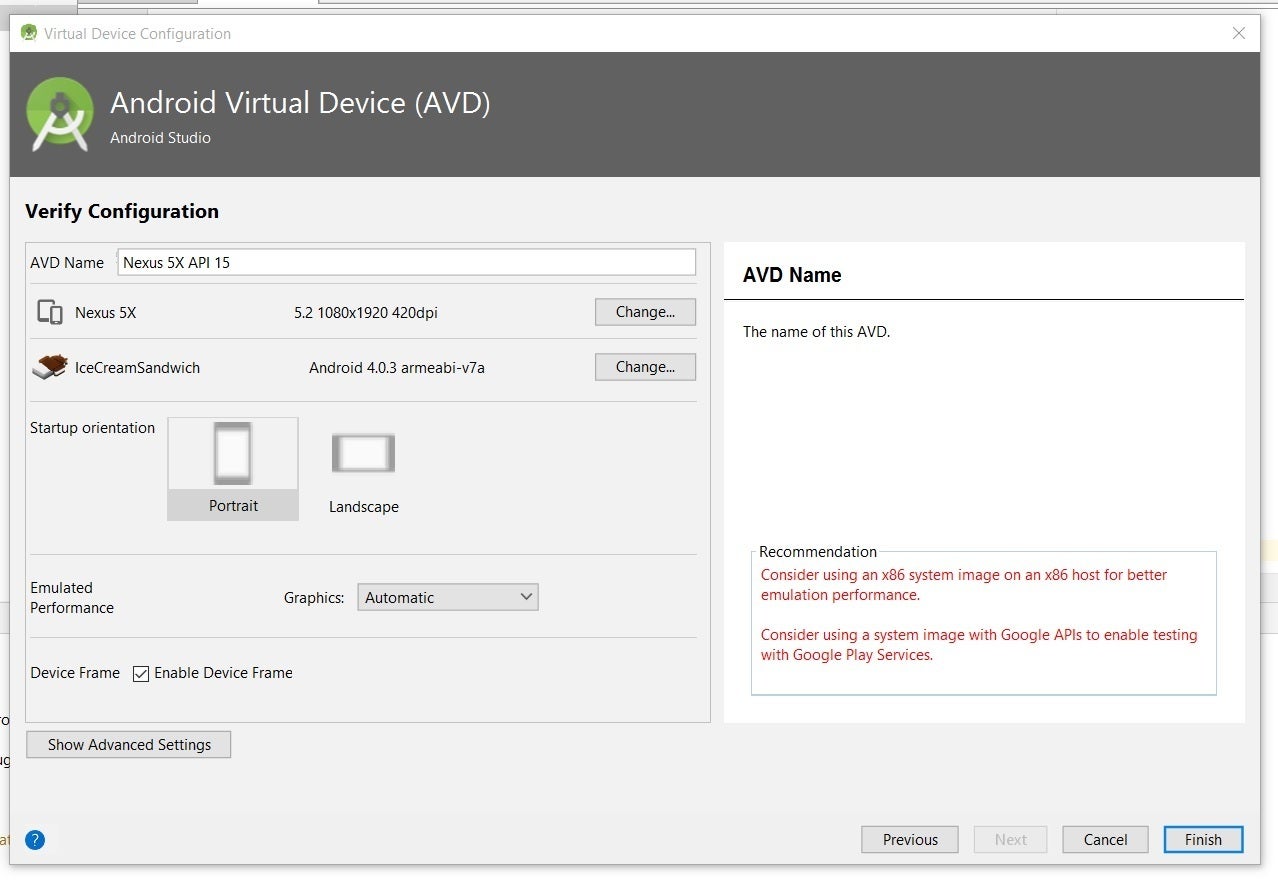
For this example, I chose to keep the default settings. You can keep the defaults or make whatever changes are necessary, then click Finish. You should now be returned to the Select Deployment Target dialog box.
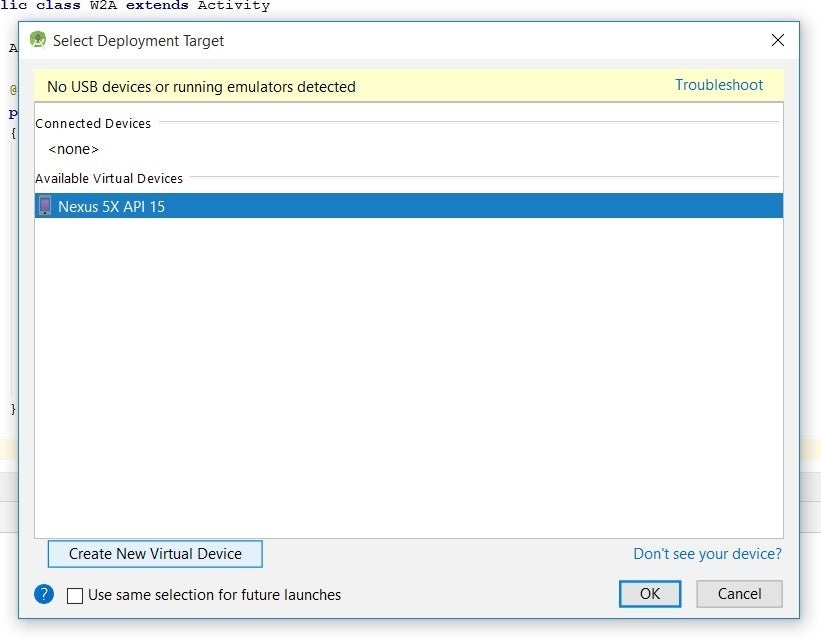
Highlight your chosen device entry and click OK.
Troubleshooting the Android device emulator
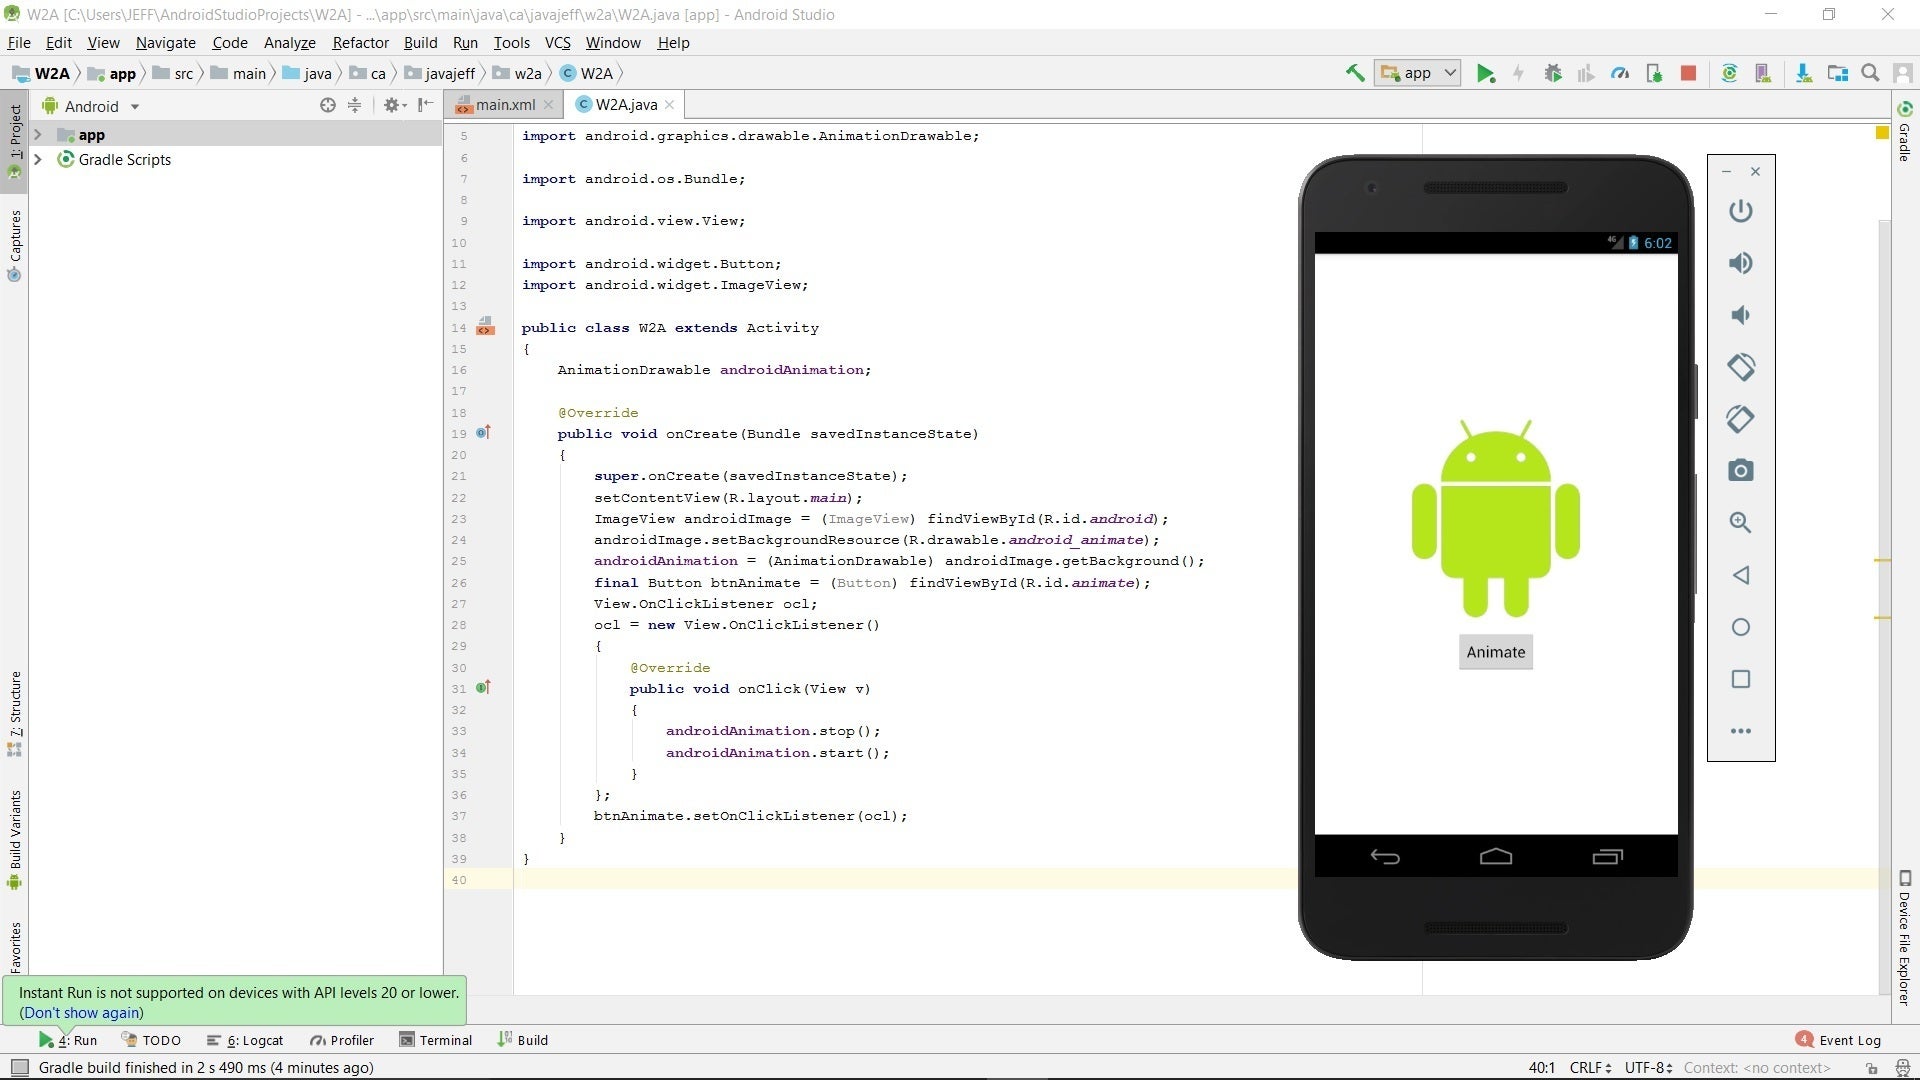
Unfortunately, at this point in the installation, you may receive a message that Instant Run is not supported. In my case, the status bar presented a Waiting for the target device to come online message and an empty emulator window appeared.

Shortly after the emulator window appeared, the Windows-based
qemu-system-armel.exe a program that's responsible for creating this window crashed. (Recall from Part 1 that I'm running a 64-bit Windows operating system.)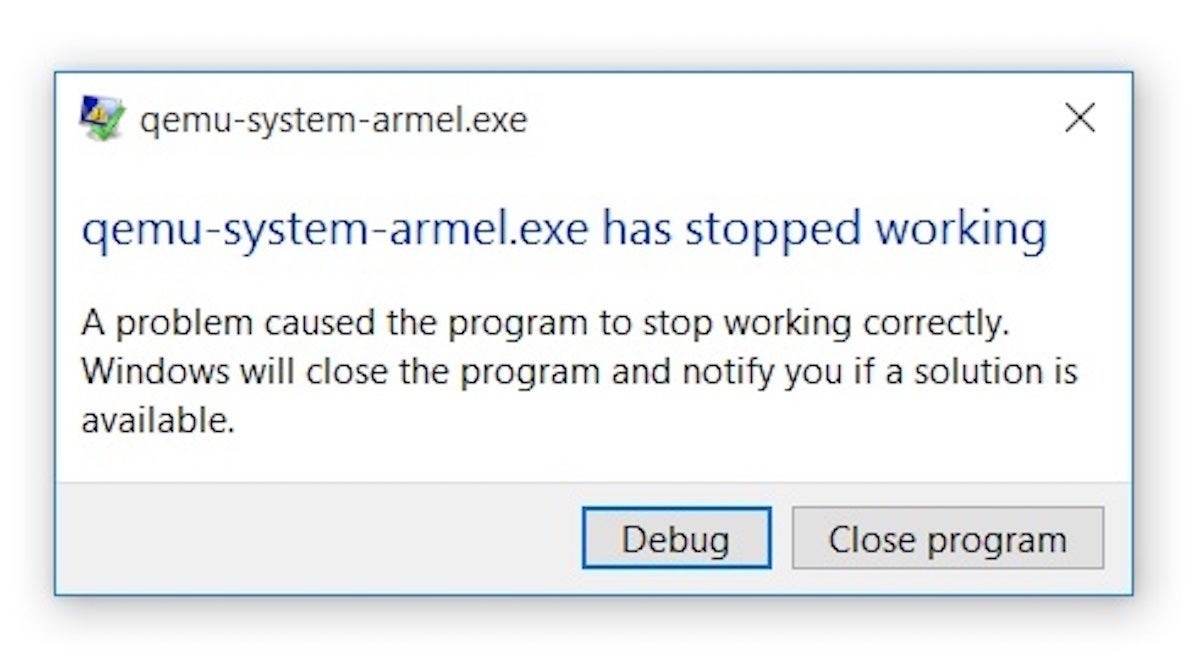 Jeff Friesen
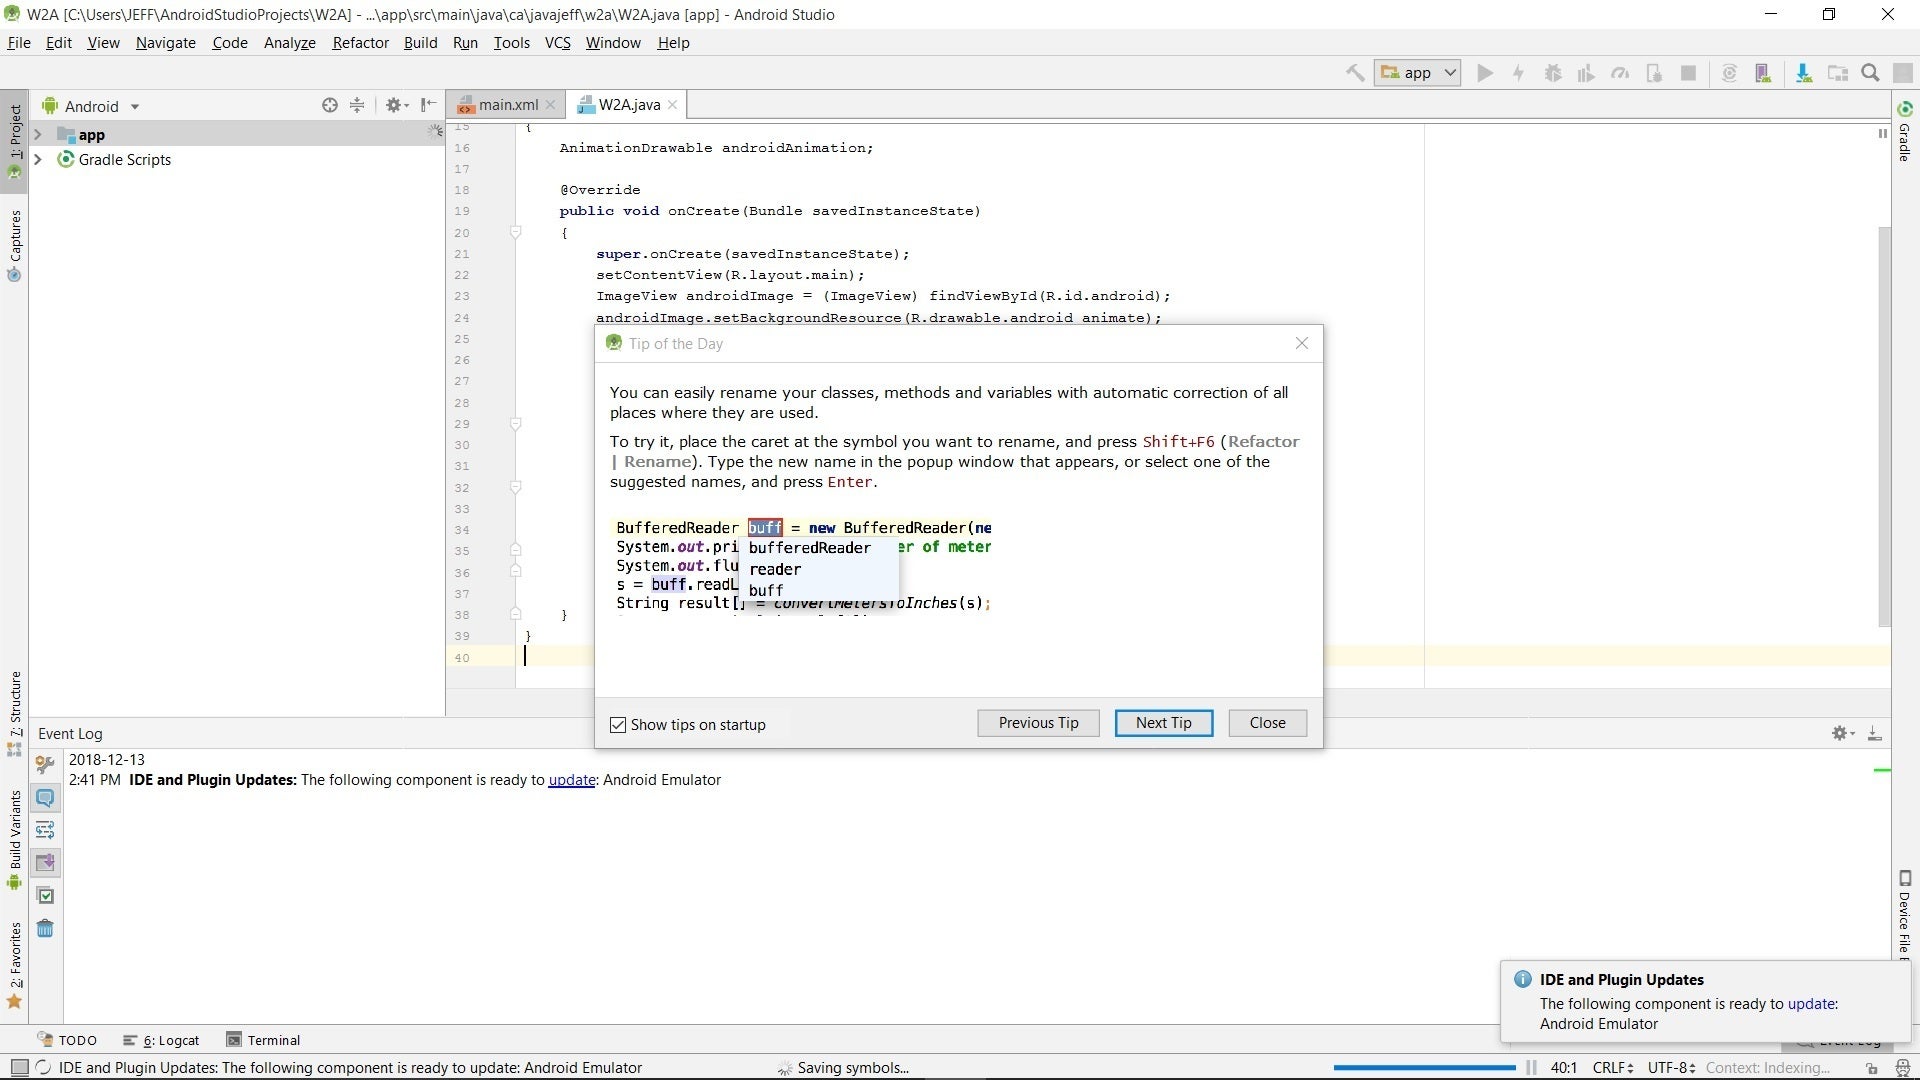
At first, I wasn't sure how to fix this problem. Fortunately, the next time I ran Android Studio 3.2.1, I observed an IDE and Plugin Updates message in the lower-right area of Android Studio's main window.
I clicked the update link and followed directions to update the emulator, which resulted in a new
qemu-system-armel.exe file.
No more crashes, but I quickly hit another snag.
Waiting for the target device to come online
When I tried running the app in my emulator, the status bar once again displayed a Waiting for the target device to come online message, followed by the empty emulator window.
Eventually, Android Studio gave up on waiting and presented the error message: Error while waiting for a device: Timed out after 300 seconds waiting for emulator to come online.
When I googled these messages, I discovered that many others have experienced this issue. Some developers have solved this problem by enabling the AVD's Graphics Processing Unit hardware. It took some exploring to figure this out, so I'll share what I learned, and hopefully save you some time.
Enable AVD's Graphics Processing Unit
An AVD consists of several files and directories located in a directory with the
.avd extension. For example, the AVD I created is located in C:\USERS\Jeff\.android\avd\Nexus_5X_API_15.avd.
This directory contains a
config.ini file, which stores configuration settings for the AVD. Two settings caught my attention:
I changed these entries to the following:
Enabling the Graphics Processing Unit solved the problem: the next time I attempted to run the app, I observed a properly running emulated Nexus 5X device.

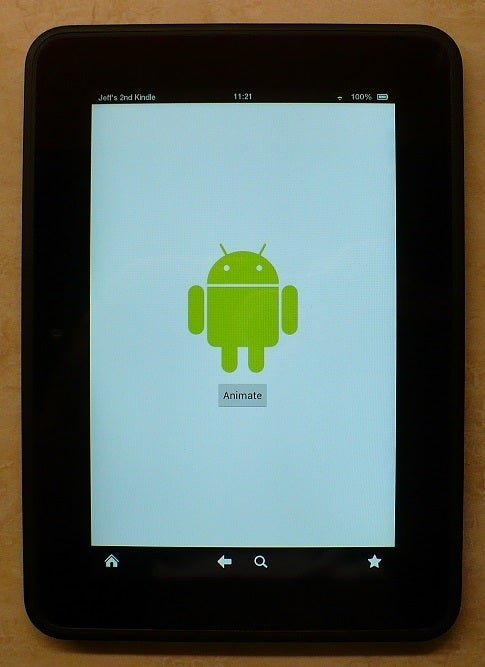
I unlocked the device by using the mouse to swipe the lock icon to the right. At this point, the emulator showed the example app's main activity.
Running your Android app on a live device
Running an app via a slow emulator can be very frustrating. One solution is to use faster emulation software, such as GenyMotion's Plugin for Android Studio. Another solution is to use an actual Android device.
Some years ago, I purchased a first-generation Amazon Kindle Fire HD 7" tablet, which runs Android 4.0.3 (API Level 15). I still use this tablet to run Android apps that don't require the latest Android APIs.
While researching how to use my Kindle Fire tablet with Android Studio 3.2.1, I found two useful guides from Amazon: Set Up Your Development Environment for Fire Tablets and Connect to Fire Tablet through ADB. I'll summarize the process of connecting a Kindle Fire device to Android Studio, but refer to these guides if you need more information.
First, if you're a Windows user like me, you'll need to start by uninstalling the non-ADB driver that's installed when your Kindle Fire tablet is connected to your development computer, without first enabling ADB. Then you'll install Amazon's USB driver.
Next, download the Kindle Fire USB driver. The downloaded ZIP archive contains a
Fire_Devices ADB drivers.exe application.
Execute
Fire_Devices ADB drivers.exe and follow instructions. I ended up with a C:\Program Files (x86)\Amazon.com\Fire_Devices\Drivers directory containing the necessary driver files.
After installing the drivers, you'll need to enable ADB on your tablet. Then, you'll connect the tablet to your development computer. See the Amazon guide if you need additional instructions for connecting your tablet to Android Studio.
Once you have everything set up, start Android Studio, load your Android project, and run the app. This time, the Select Deployment Target dialog box should show an Amazon KFTT entry in the Connected Devices section. Select this entry and click OK. Android Studio responds by directing Gradle to build the app. Once that's done, it will install the app's APK and run the app on the device.
The conclusion to Part 3
You've written, built, and run your first Android Studio application using Android 3.2.1 or higher, and you've done some troubleshooting along the way. As a next step, I suggest experimenting with what you've learned. Use the examples and source code from the first three Android beginner tutorials to develop a new project of your own. Keep your projects simple while you learn the ins and outs of working with Android Studio and its built-in features, but do challenge yourself to experiment. Turn to Part 4 when you're ready to build and run the animated Android application.


0 Comments